|
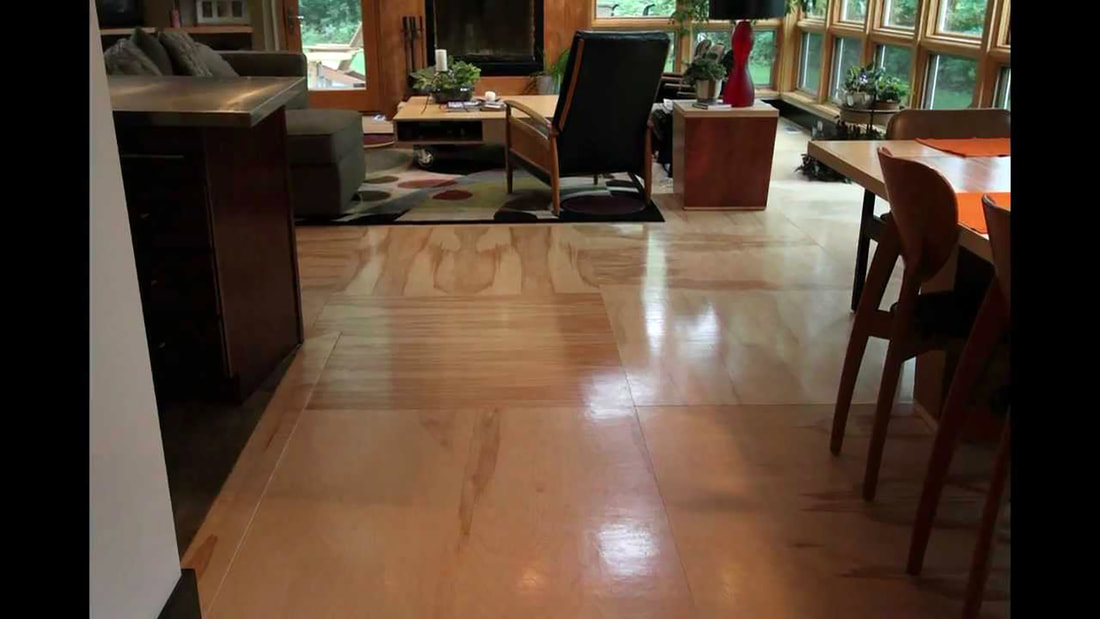
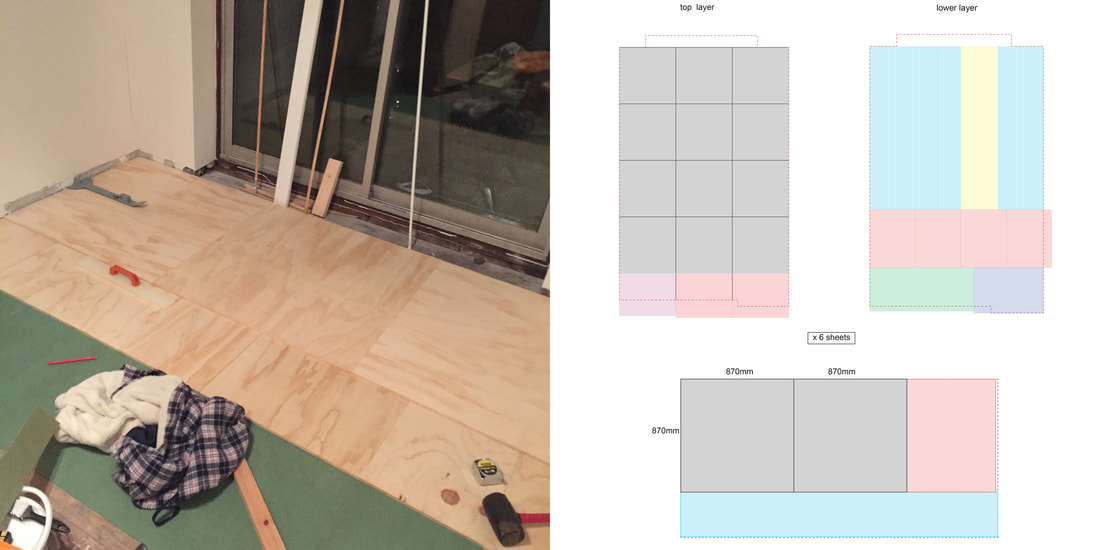
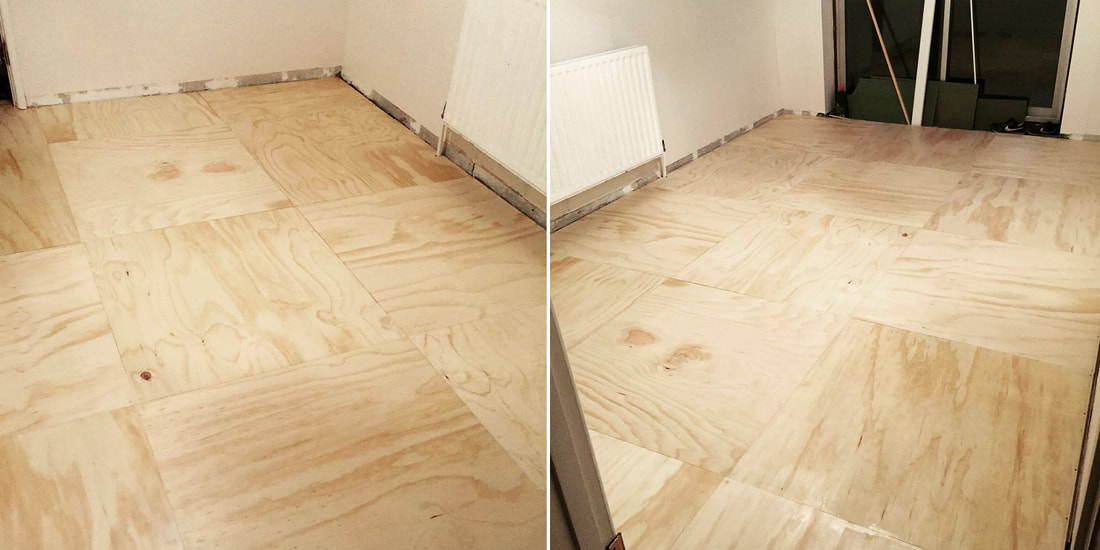
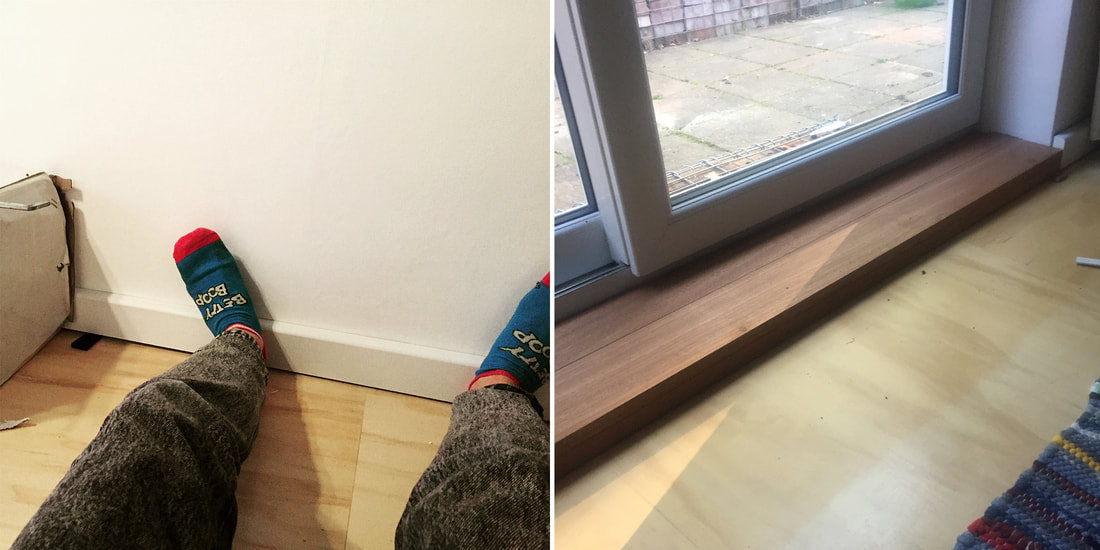
CREDIT: Michael Huber Architects You can use softwood plywood to create a finished floor surface. Depending on timber prices, this material can be less expensive than other products such as pre-made timber planks which are specifically made as flooring products. I used plywood in a bedroom and would do it again in other rooms. I wouldn’t install it in a hallway or anywhere with heavy traffic or heavy items being dropped as it will ding and dent. CREDIT: Amanda Moore, installing hardboard insulation, working out the cutting list I started with the subfloor of my 1950s house. You might have a concrete subfloor. I laid a hardboard layer, (the green material), which provides a little insulation, evens out any raised planks to make a flatter surface and is air permeable as I didn’t want to create any condensation issues around my existing subfloor. I removed the skirting boards as the new floor would be higher than the existing laminate which was there. I bought standard 18mm plywood from my local DIY shop which comes in 2440mm x 1220mm standard size. I did a cutting list to try and fit all of the pieces I needed on as few sheets as possible. I wanted squares as the final finish with the grain running in alternate directions and so I divided the width of the room by 3 for the typical square dimension, allowing a few millimetres gap between each plank and 10mm against the wall all the way round. The squares, when laid out onto a sheet of ply, left lots of odd offcuts and so I used CAD software to lay them out as a layer beneath the squares. The squares would be fixed to them to make a more rigid floor a total of 36mm thick. CREDIT: Amanda Moore, floor installed and screw holes filled The small pieces of plywood when cut easily stacked into my car. I countersunk holes in each corner of the top layer of squares and screwed them to the layer below. They were also fully glued and I applied wood glue with a big brush. So essentially, the ply floor is not fixed to the subfloor, it’s a big rigid floor made up of 2 layers of ply sitting on the hardboard layer. The wood tended to have a nice side and then a not so nice side, (knot so nice side), which I laid to the bottom. I then used a high-quality yacht varnish with a satin finish to lacquer the floor, after filling the holes with wood filler in a light colour to match. CREDIT: Amanda Moore, installing mineral wool and supports for cill CREDIT: Amanda Moore, fitting the skirting and cill I bought high density fibreboard skirting which was pre-primed. The hardest part was cutting 45 degree mitre cuts for the corners. The adhesive was applied with a caulking gun and I pressed it against the wall with my feet!
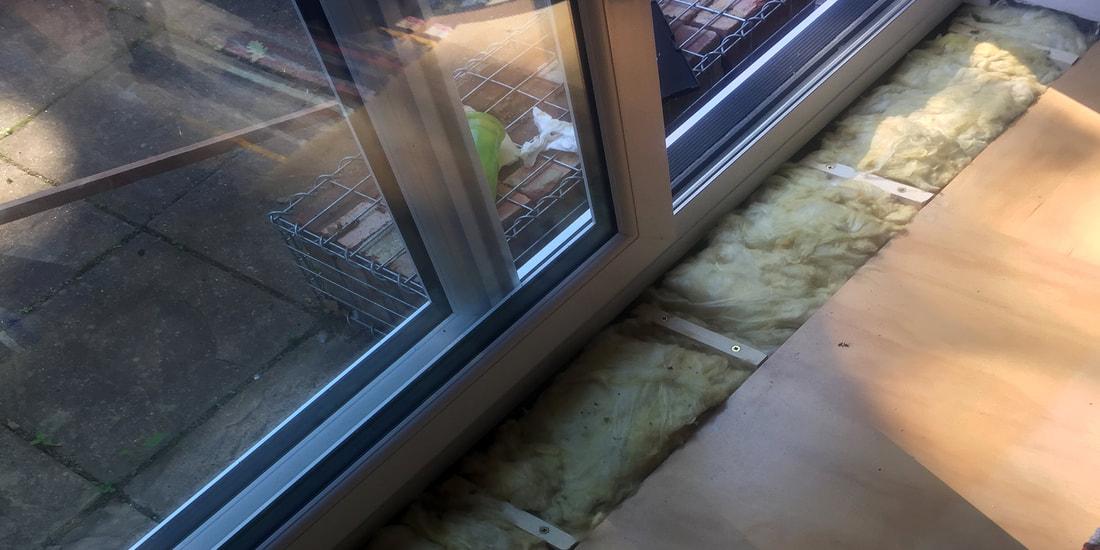
There was a gap left against the sliding door. I added support battens and mineral insulation and then made a cill from Red Sapele timber. I’ve built an oak parquet floor in another room which I’ll put in another blog post and the price comparison is very different. The oak ran me £40 per square metre plus glue and hardboard whereas the ply cost around £10 per square metre but per layer, so £20 per square metre and I got away with cheaper glue than the carpenter’s glue I needed for the oak. The whole thing was also done in a day. It's a pretty simple way to make an attractive floor.
0 Comments
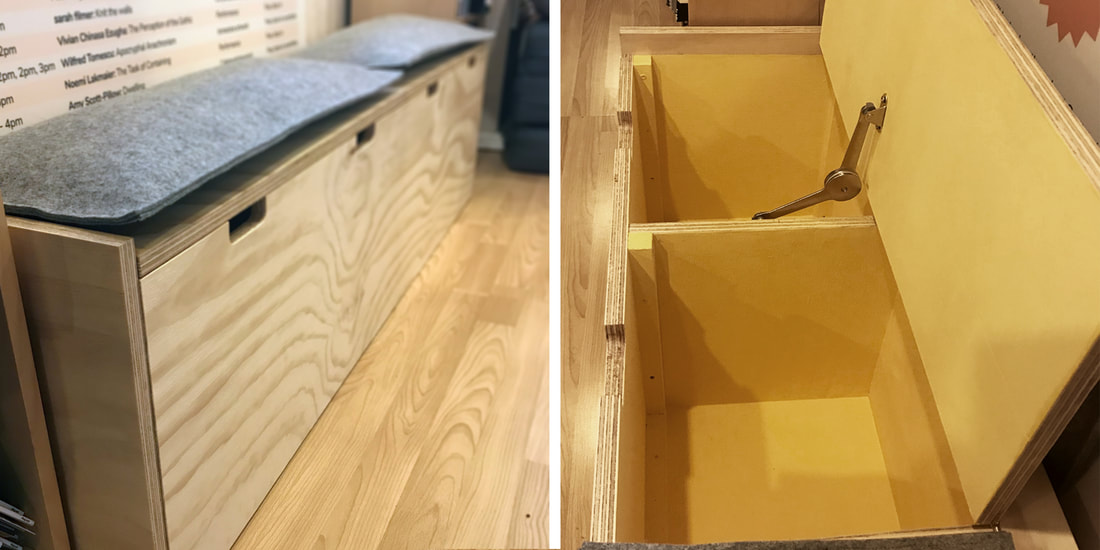
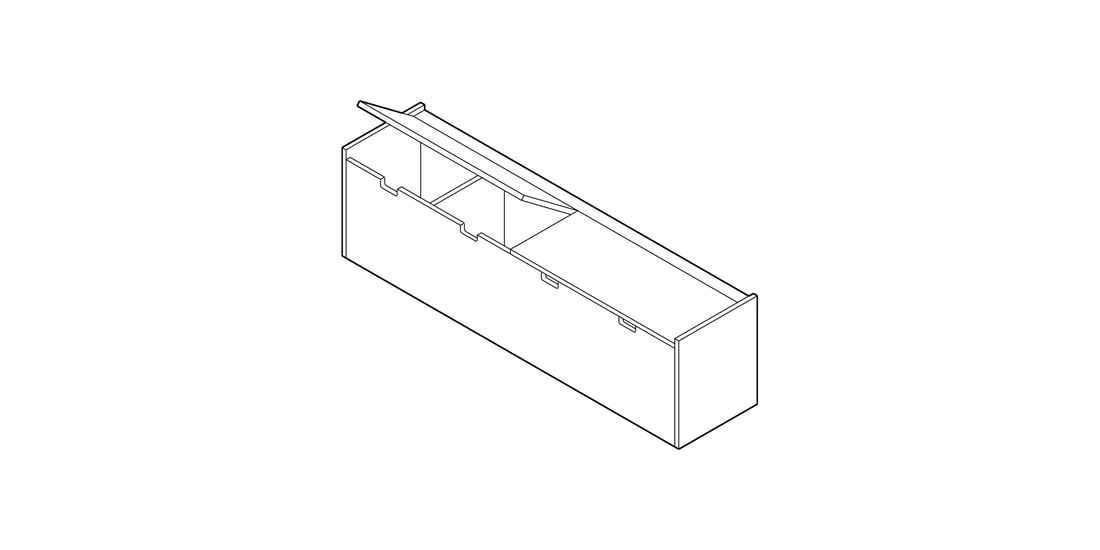
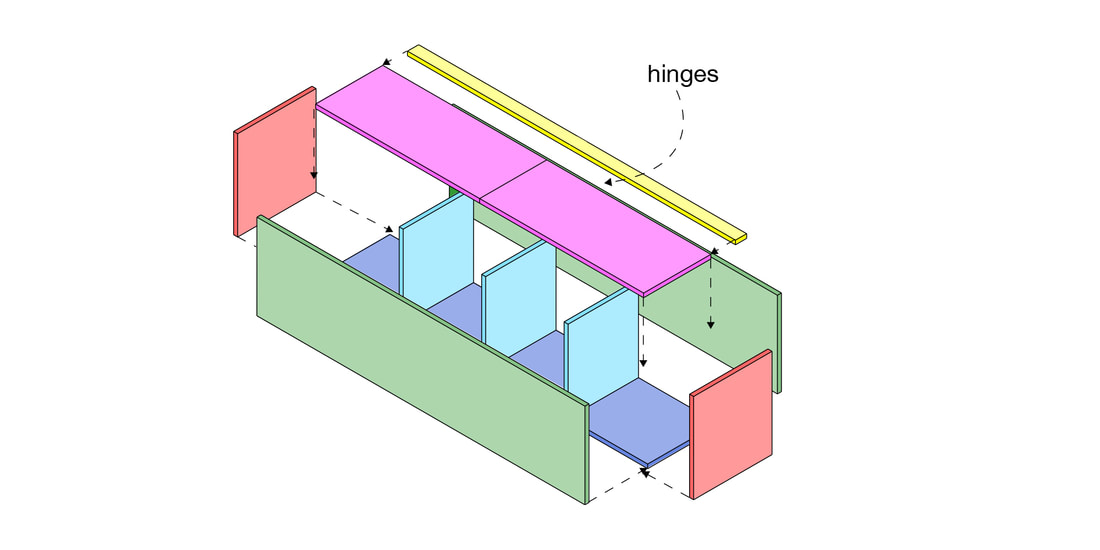
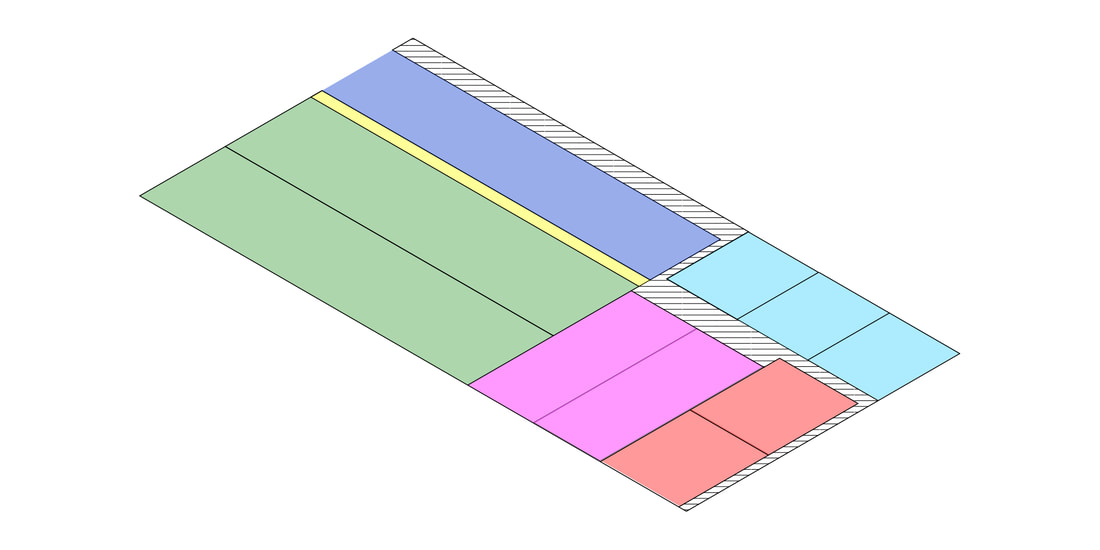
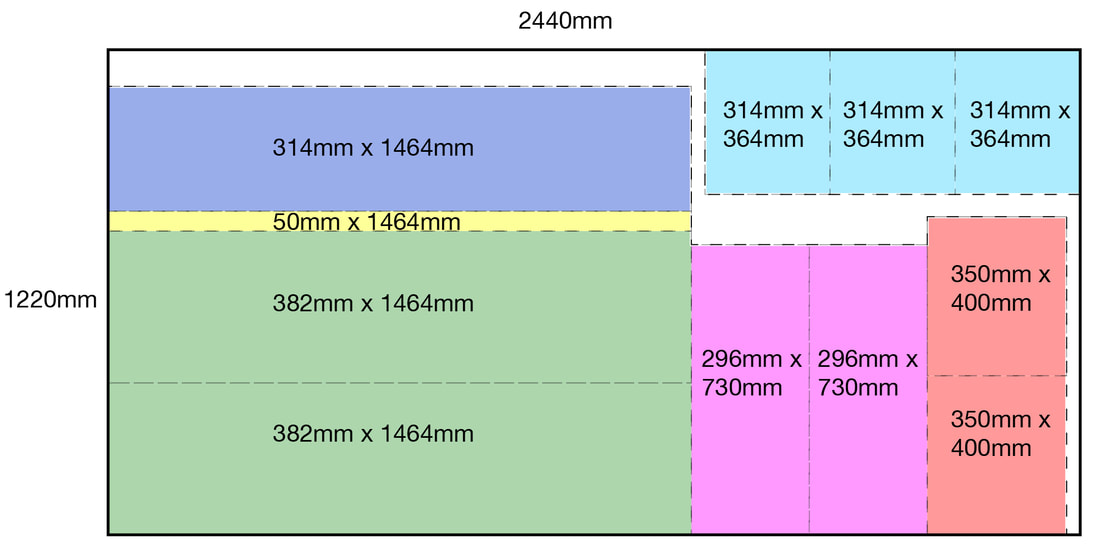
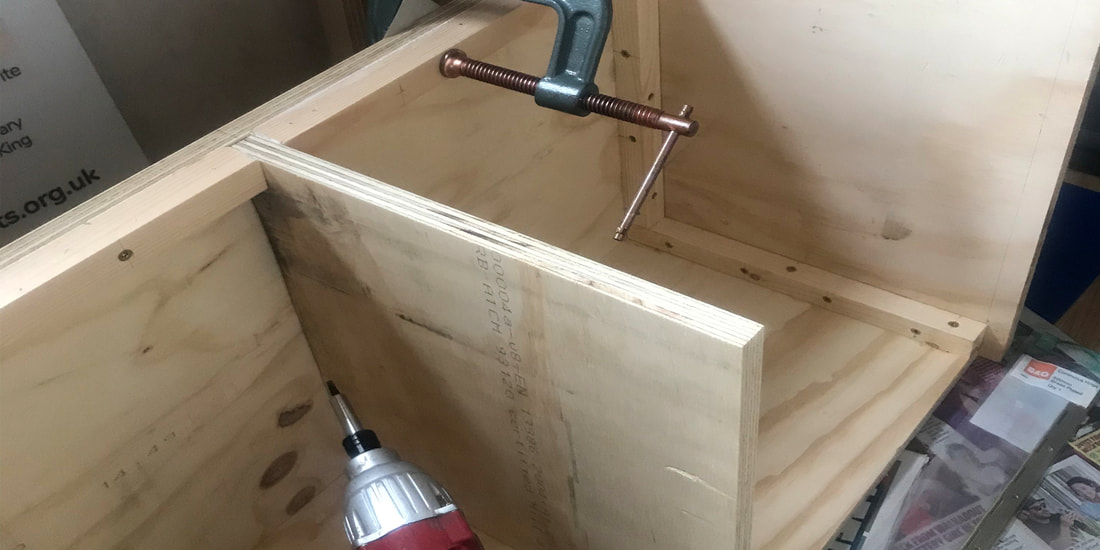
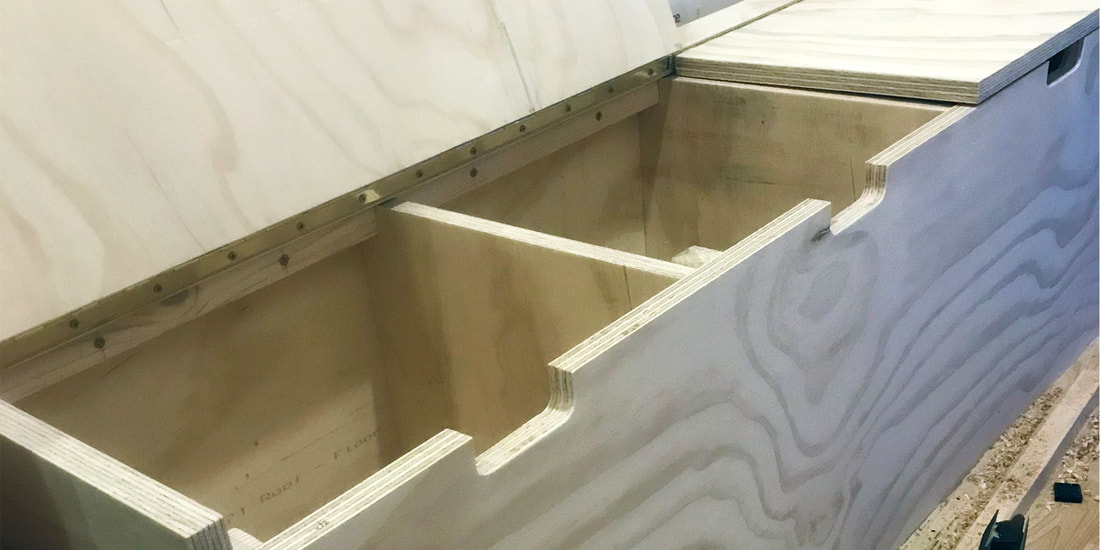
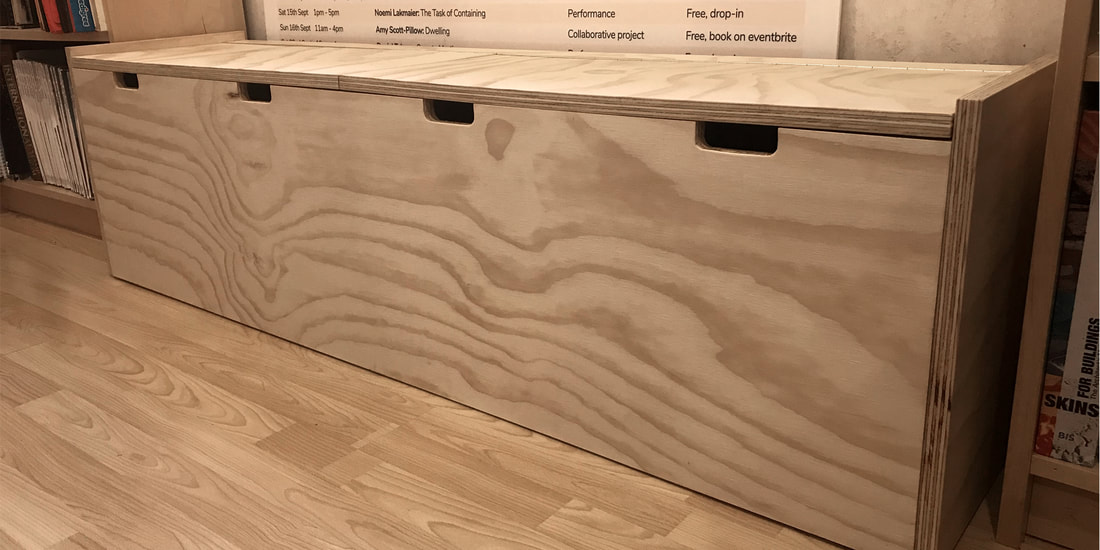
CREDIT: Photo: Amanda Moore In this 'Make Stuff by Hand’ series of posts I will share items built using minimal tools. Using your creativity to build things which can be used in your home is incredibly rewarding. However, watching YouTube videos by people with an entire workshop setup can be disheartening. What if all you've got is a drill and a saw? Here I outline the steps in making a plywood storage bench: 1. Measure your spaceThe instructions and cutting list included here will show the design for a 1.5m x 350mm bench to fit the space between two bookcases and create a seat under a window. You may need to adjust these dimensions to work with your particular space. 2. Choose your materialsSpruce plywood has been used for this project and can be purchased at a timber yard or popular DIY store. They should be able to cut it for you. The cutting list here is based on an 18mm material thickness. 3. Draw up your designNot everyone has 3D CAD software but you can download software like Sketchup for free, www.sketchup.com/plans-and-pricing/sketchup-free. You can model your item to scale and then take it apart and lay the pieces out into a cutting list. You want to try and lay out your pieces so that you require as few sheets of plywood as possible. Here I managed to get all of the pieces to fit onto one standard sheet of plywood: CREDIT: Drawings: Amanda Moore REMEMBER to allow for the saw blade thickness, so you will need a little wastage of material as allowed here. 4. Take your cutting list to a supplierChoose your material and try to get the least cr*ppy pieces. There is often one bad side with standard construction plywood and you could make this the bottom, back or inside. Sorry guys outside of the UK, I only do metric. CREDIT: Drawing: Amanda Moore 5. Choose either brackets or strip wood to make the jointsThis project used strip wood as it was cheaper. You could use small brackets though. You will also use wood glue to create stronger joints. Make sure that your wood screws are not too long, ie; less than the thickness of the panel material plus the strip wood or bracket thickness. I also used hand clamps to help hold things in place and used strip wood at most joints for strength. You can see the 'bad' side of the timber being situated inside the bench. 6. Hinges and openersYou can use individual hinges or continuous piano hinge which can be cut to size. I also decided to cut out four slots to allow you to open the lids. This involved drilling good-sized holes to create each curved corner and simply cutting with a saw and chiselling out. 7. FinishingLightly sand any sharp edges and varnish the bench to show off the natural wood grains. I chose to paint the interior of the bench in a chalk paint by Rustoleum, www.rustoleum.com/product-catalog/consumer-brands/chalked/. I also added restrictor hinges for child safety, and to stop the lids hitting the wall, plus sticky felt pads to the underside to allow the bench to be moved around without scuffing the floor. Finally I decided to sew two cushions from wool felt with wadding inside and fitted them with velcro, but this isn't necessary. Good Luck!
|
AuthorWhat am I doing here? I'm collecting sea water to fill 1,000 bottles and hang them from a scaffold inside an old ruin. Why? Why not? Archives
December 2023
Categories
All
|


 RSS Feed